
ZFS is great file system that comes with a lot of benefits, and I’ve come to use on my servers with LXC or Docker.
Even if RAIDZ or self-healing are useless on a VM, we can still benefit from compression, snapshots, cache, etc.
The proper way to create a ZFS pool is to dedicate a device or partition to the zpool.
I’m using the new Hetzner cloud offer a lot recently and that’s also where I use ZFS. They provide ready to go images to get a working VM in 10 seconds, but you can’t repartition them. This tutorials aims to explain how to use the rescue mode to partition the VM and create a zpool.
Also note that you can adapt this tutorial to other distributions, like Ubuntu. Ubuntu is often recommended for ZFS, but it works perfectly fine on Debian and I’m a Debian guy.
Launch the VM
First, create a VM. Don’t mind the OS, as we will reinstall the VM later.

Rescue mode
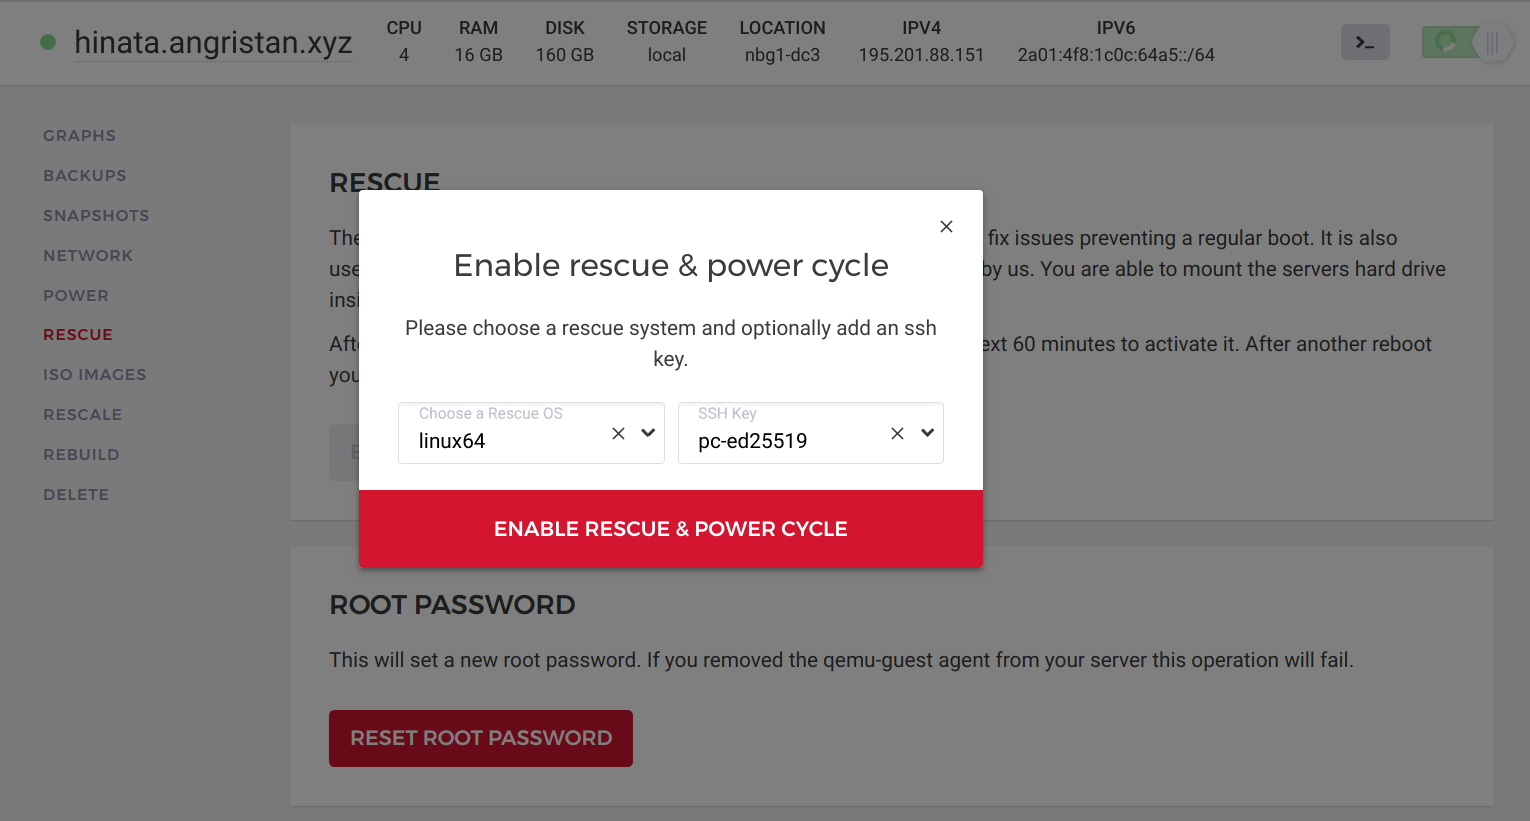
Once your VM is ready, put in in rescue mode + power cycle. This will reboot your VM intro rescue mode (it can take a minute)
Then, connect to your VM via SSH:
stanislas@xps ~> ssh [email protected]
The authenticity of host '195.201.88.151 (195.201.88.151)' can't be established.
ECDSA key fingerprint is SHA256:2PTBbmi8WQNFcoyw3H8WvrHOXZIm9EASa4Sk3VyRLGc.
Are you sure you want to continue connecting (yes/no)? yes
Warning: Permanently added '195.201.88.151' (ECDSA) to the list of known hosts.

-------------------------------------------------------------------

  Welcome to the Hetzner Rescue System.

  This Rescue System is based on Debian 8.0 (jessie) with a newer
  kernel. You can install software as in a normal system.

  To install a new operating system from one of our prebuilt
  images, run 'installimage' and follow the instructions.

  More information at http://wiki.hetzner.de

-------------------------------------------------------------------

Hardware data:

   CPU1: Intel Xeon Processor (Skylake) (Cores 4)
   Memory: 15676 MB
   Disk /dev/sda: 163 GB (=> 152 GiB)
   Total capacity 152 GiB with 1 Disk

Network data:
   eth0 LINK: yes
         MAC: 96:00:00:08:fc:be
         IP: 195.201.88.151
         IPv6: 2a01:4f8:1c0c:64a5::2/64
         Virtio network driver
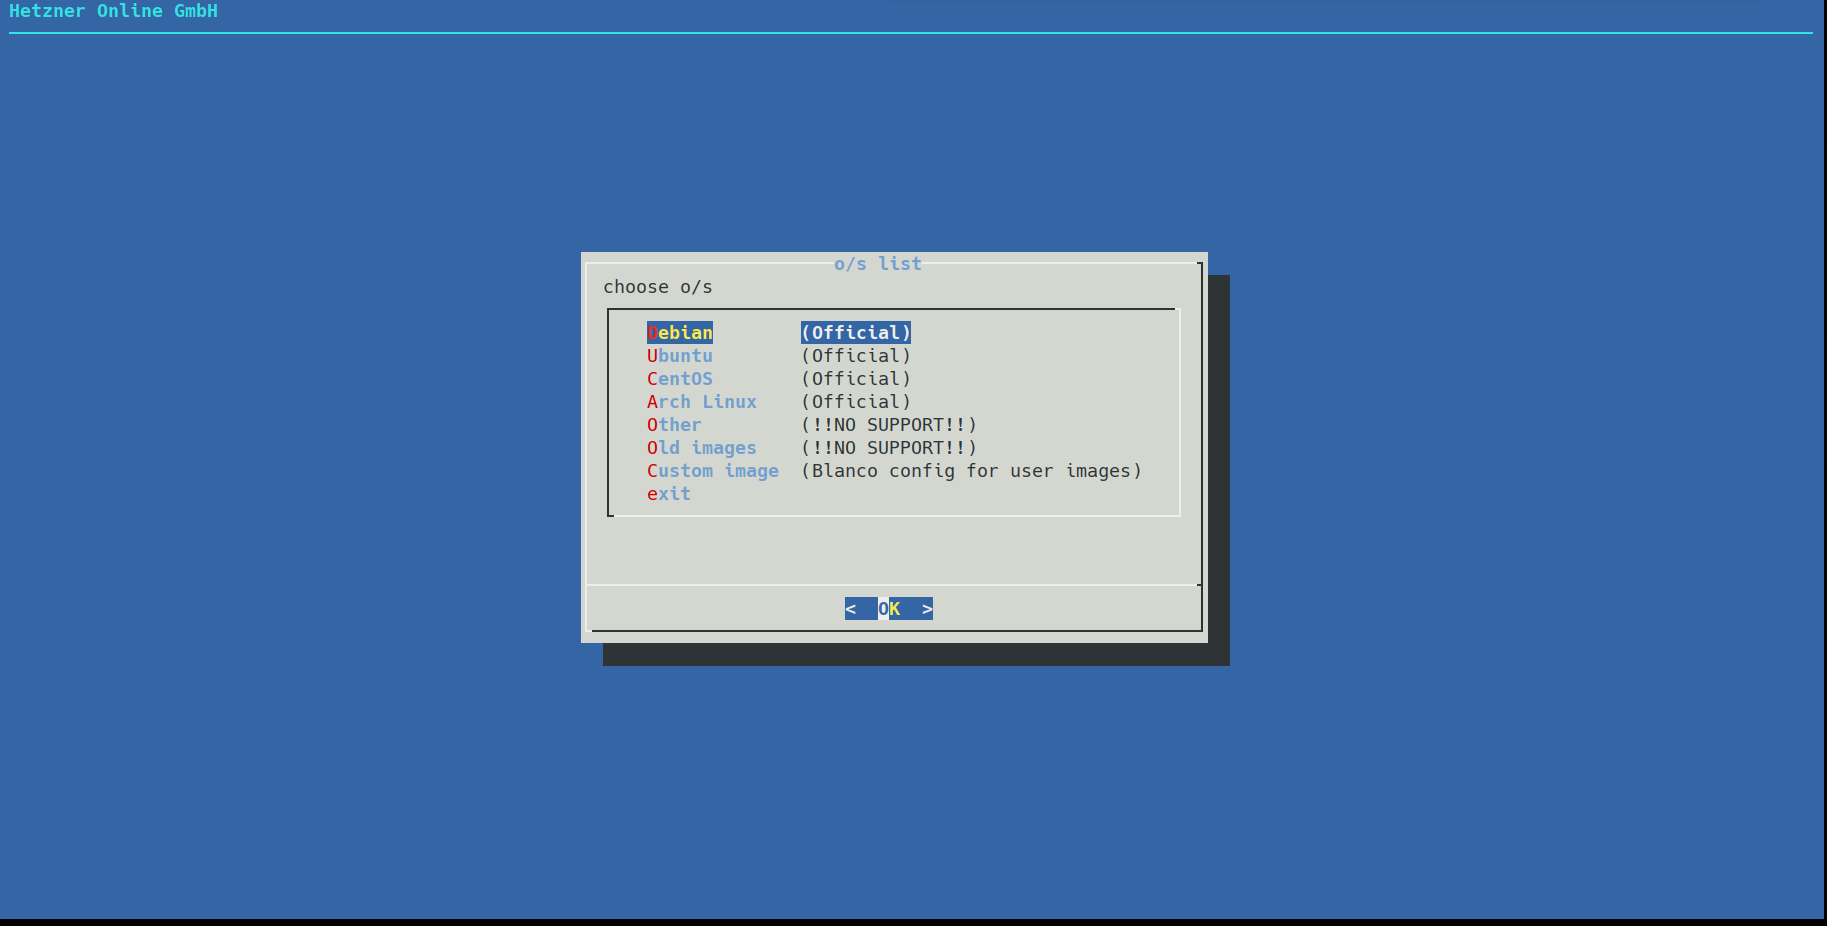
We’re in! The rescue image allows us to do all sorts of stuff but we’re going to use it to reinstall Debian 9, with the installimage tool. By the way you can also use this tool to install other OS like Arch and even Proxmox. Even if you don’t need ZFS you can set swap, etc. It’s a great tool, I recommend you to use it for “production” VMs.
Choose Debian 9 then minimal:
Change HOSTNAME and PART.
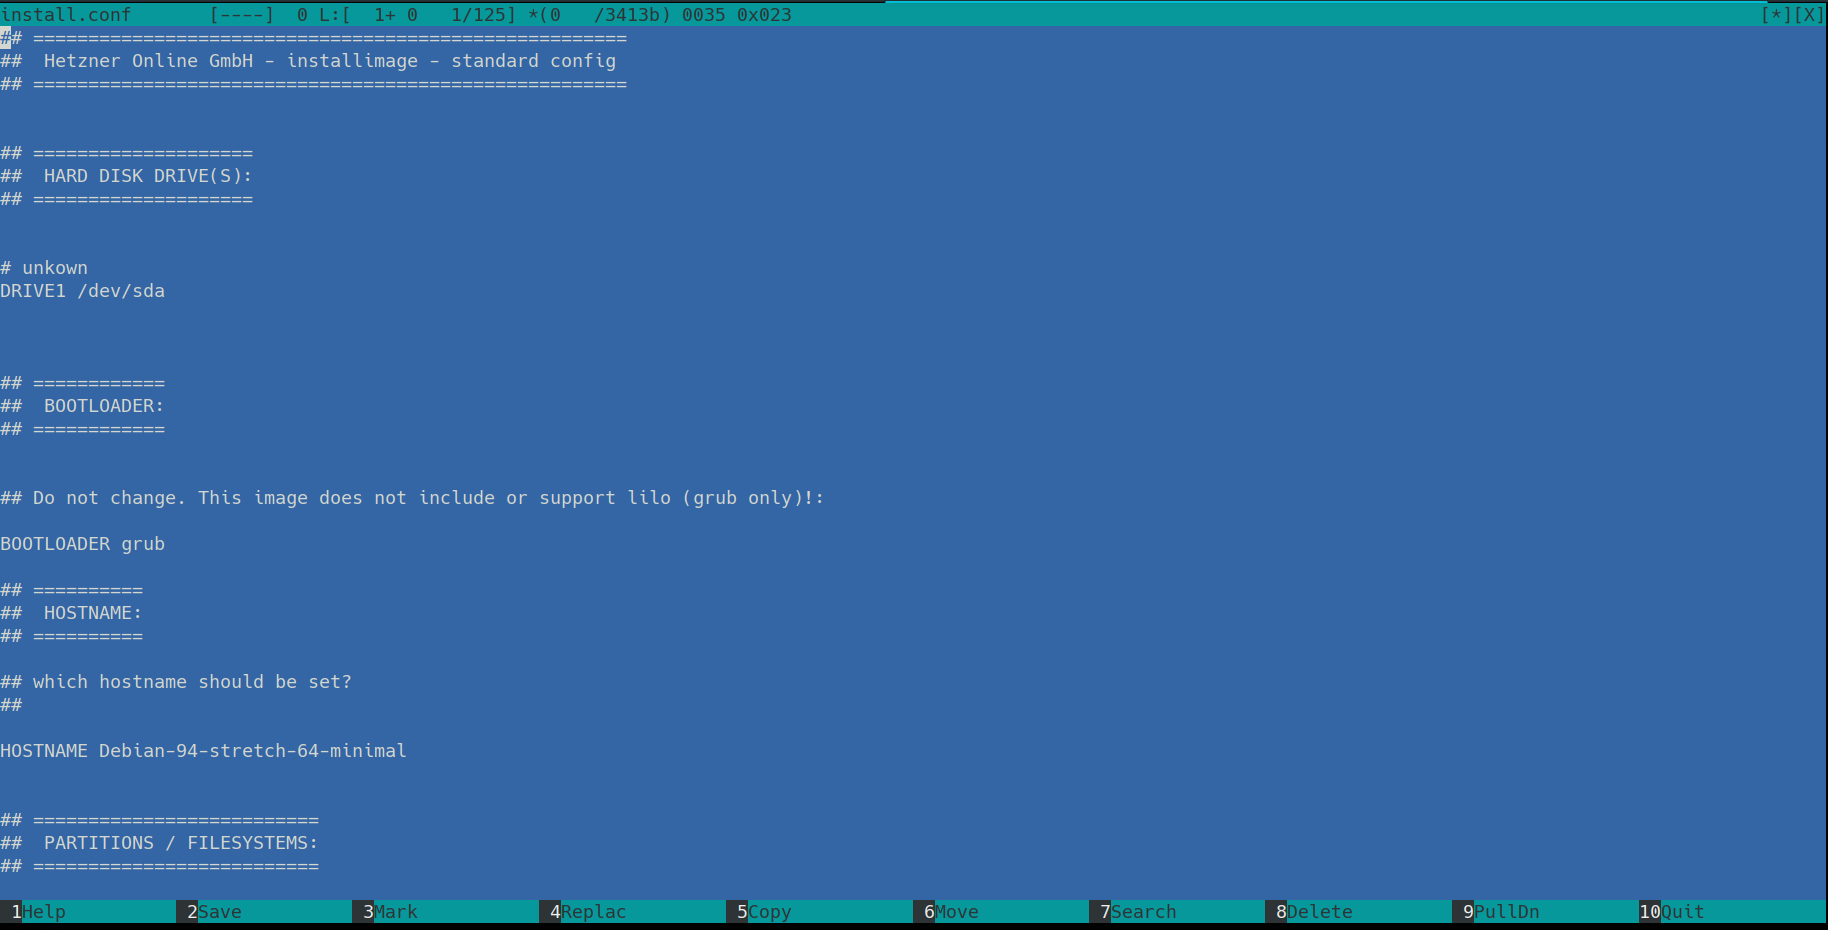
In my case, here’s what I use:
HOSTNAME hinata.angristan.xyz

PART / ext4 10G
PART swap swap 4G
Then continue and accept to wipe the drive.
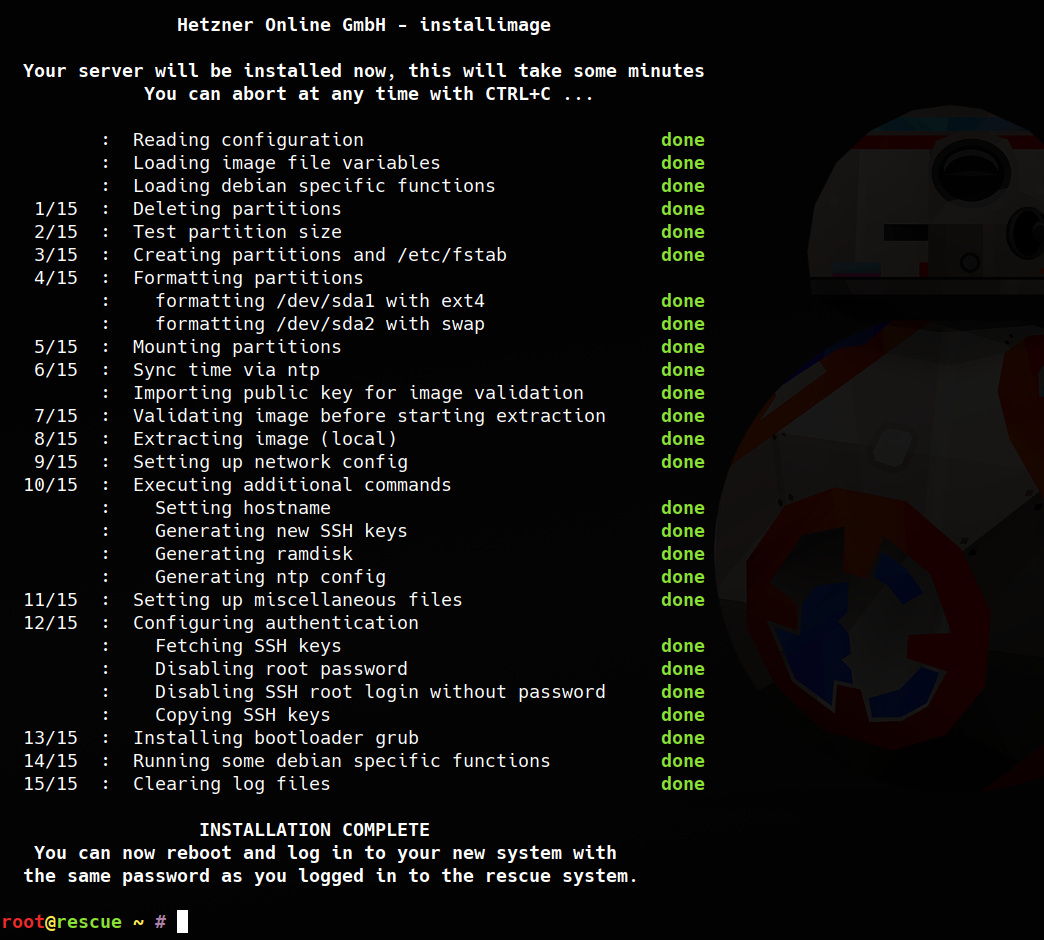
Simple and easy! You can now reboot.
You will have a SSH fingerprint warning, just remove the according line from your .ssh/know_hosts.
Update your system
Once you’re connected for the fist time to your fresh Debian VM, you should update your packages:
apt update
apt full-upgrade
Partition
Let’s see how our disk looks like:
root@hinata ~ # fdisk -l
Disk /dev/sda: 152.6 GiB, 163842097152 bytes, 320004096 sectors
Units: sectors of 1 * 512 = 512 bytes
Sector size (logical/physical): 512 bytes / 512 bytes
I/O size (minimum/optimal): 512 bytes / 512 bytes
Disklabel type: dos
Disk identifier: 0x972ee9c3

Device Boot Start End Sectors Size Id Type
/dev/sda1 2048 20973567 20971520 10G 83 Linux
/dev/sda2 20973568 29362175 8388608 4G 82 Linux swap / Solaris
We have the 2 partitions we created during the installation.
Let’s add a primary partition with the remaining space:
root@hinata ~ # fdisk /dev/sda

Welcome to fdisk (util-linux 2.29.2).
Changes will remain in memory only, until you decide to write them.
Be careful before using the write command.

Command (m for help): n
Partition type
   p primary (2 primary, 0 extended, 2 free)
   e extended (container for logical partitions)
Select (default p): p
Partition number (3,4, default 3): 3
First sector (29362176-320004095, default 29362176):
Last sector, +sectors or +size{K,M,G,T,P} (29362176-320004095, default 320004095):

Created a new partition 3 of type 'Linux' and of size 138.6 GiB.

Command (m for help): w
The partition table has been altered.
Calling ioctl() to re-read partition table.
Re-reading the partition table failed.: Device or resource busy

The kernel still uses the old table. The new table will be used at the next reboot or after you run partprobe(8) or kpartx(8).
You can now reboot to update the partiton table.
root@hinata ~ # fdisk -l
Disk /dev/sda: 152.6 GiB, 163842097152 bytes, 320004096 sectors
Units: sectors of 1 * 512 = 512 bytes
Sector size (logical/physical): 512 bytes / 512 bytes
I/O size (minimum/optimal): 512 bytes / 512 bytes
Disklabel type: dos
Disk identifier: 0x972ee9c3

Device Boot Start End Sectors Size Id Type
/dev/sda1 2048 20973567 20971520 10G 83 Linux
/dev/sda2 20973568 29362175 8388608 4G 82 Linux swap / Solaris
/dev/sda3 29362176 320004095 290641920 138.6G 83 Linux
Install ZFS
ZFS is available trough the contrib repository on Debian.
For Debian Stretch, make sure you have contrib on for the main repo in /etc/apt/sources.list, e.g.:
deb http://deb.debian.org/debian stretch main contrib
First, install the kernel headers. They will allow us to compile and install kernel modules.
apt install linux-headers-$(uname -r)
Then install ZFS and its DKMS module:
apt install zfs-dkms zfsutils-linux
The installation can take quite some time because it will build the ZFS kernel module, with DKMS.
When it’s done, you will need to load the module:
modprobe zfs
By default you will have to do this after each reboot. To load the module automatically, add it to /etc/modules :
echo "zfs" >> /etc/modules
You should reboot to make sure all the ZFS services are running.
Create a zpool
We have an empty partition and ZFS, so we’re ready to create a zpool.
Here, I will create a zpool called zpool-docker on /dev/sda3 and mounted on /zpool.
root@hinata ~ # zpool create -f zpool-docker -m /zpool /dev/sda3
Make sure it has been created:
root@hinata ~ # zpool list
NAME SIZE ALLOC FREE EXPANDSZ FRAG CAP DEDUP HEALTH ALTROOT
zpool-docker 138G 78.5K 138G - 0% 0% 1.00x ONLINE -
root@hinata ~ # zpool status
  pool: zpool-docker
 state: ONLINE
  scan: none requested
config:

	NAME STATE READ WRITE CKSUM
	zpool-docker ONLINE 0 0 0
	  sda3 ONLINE 0 0 0

errors: No known data errors
Tip
Compression is not enabled by default but I like to enable it because it can save quite some space on certain type of data like databases.
root@hinata ~ # zfs get compression zpool-docker
NAME PROPERTY VALUE SOURCE
zpool-docker compression off default
root@hinata ~ # zfs set compression=on zpool-docker
root@hinata ~ # zfs get compression zpool-docker
NAME PROPERTY VALUE SOURCE
zpool-docker compression on local
You’re good to go! You can now store whatever you want on /zpool and enjoy the power of ZFS. You can, for instance, use it with Docker or LXD.